
We started out the adventure with snapping the beans. My 5 year-old daughter wanted to help with part of this, so she got her own little pile and started snapping away. She lasted about 20 minutes and then she was off to play. We kept on snapping beans and were done before we knew it!
The next step was getting them all cleaned up and ready for the pot of water. Mom likes to hot pack them. She feels she can get more into the jar, so that's what we do. You can cold pack them if you wish. It's all up to you. We worked in 2 batches, since we had so many beans. The first pile went into the pot of water to boil for 5 minutes. While those cooked, we got the jars washed up and ready to pack. The first round we canned pints, then decided some quarts were needed too.

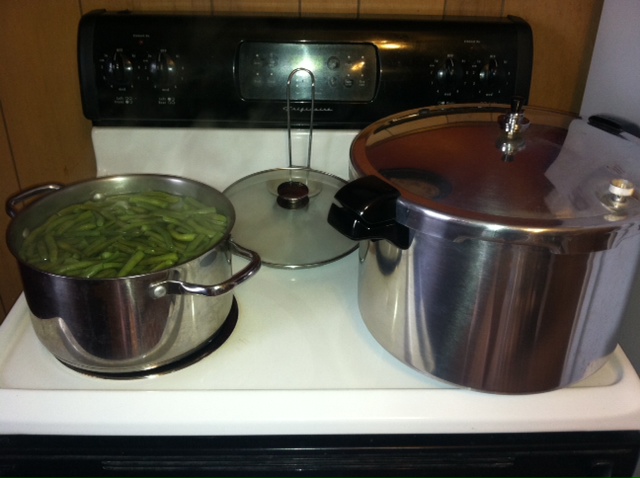
Mom worked on heating the jars up with HOT water while I finished up the beans. We switched the canner over to the large burner and filled it to the appropriate line with water. A small pan of water was on a back burner with boiling water to heat up the lids. Once the beans were done, we brought the hot jars to the table and started ladeling the beans and water into the jars. These jars are Ball jars, but we've had Atlas jars and Mason jars as well. All have worked well and we typically buy what's in the store.
Once the jars are filled, we wiped the tops down and placed the hot lids onto the top of the jars and put a ring on it; tightened just till it's secure. Into the pressure canner it goes. Ours is a Presto. Beans need to be processed in a pressure canner, not a hot water bath. They are a low acid food and bacteria can grow inside the jars if they are not pressure canned.
We secured the lid of the canner and turned on the heat. The weight is not on the canner at this point. You wait for the steam to start coming out of the vent at a steady pace and then time 10 minutes. The pressure starts building at this point. There is a little air vent that will eventually rise and seal the canner. Once your 10 minutes is up, you place the weight onto the vent and wait for it to toggle at a steady pace.
This is when you start your processing time. The pints were proccessed for 20 minutes and the quarts were processed for 25 minutes. When you are done processing, you removed the canner from the heat and LEAVE it alone! Don't take off the weight, don't open the canner, don't try and cool it down too quick. When the canner cools down and the air vent drops, you will remove the weight and time 10 minutes. After the 10 minutes is up, you can then remove the lid. We always open and pull the lid towards us. This allows the steam to escape away from us and not into our faces.
As with anything-PLEASE read the directions for your canner. These directions are for the one we use and they all can be a little different.
Remove the jars with jar lifter and set on a towel. They will start to seal as they cool. Any jars that do not seal can be refrigerated and eaten within a few days. If jars seal correctly, you can store them for about 1 year. We leave the jars on the table on a towel for a couple days to cool completely and settle.
This is the finished product!

Good luck if you decide to try this for yourself! You won't be disappointed with the taste of fresh green beans from your garden or local farmers market! Enjoy!
I'm doing this next week! Thanks for the inspiration!
ReplyDeleteAnytime! I have been inspired by lots of blog posts like this too. It's nice to try something new and very rewarding when you have a finished product. Good luck!
ReplyDeleteThey look beautiful! I have another 15 quarts of green beans to can before I meet my quota for the year. I think they are the easiest food to can and so much better tasting than store bought!
ReplyDelete